Paver
blocks.
1- Study the Arch drawing and services drawings to find out levels, and
gradient of road. Paver
block typical section is as shown below. Details can change depending on strata
and vehicular loads.
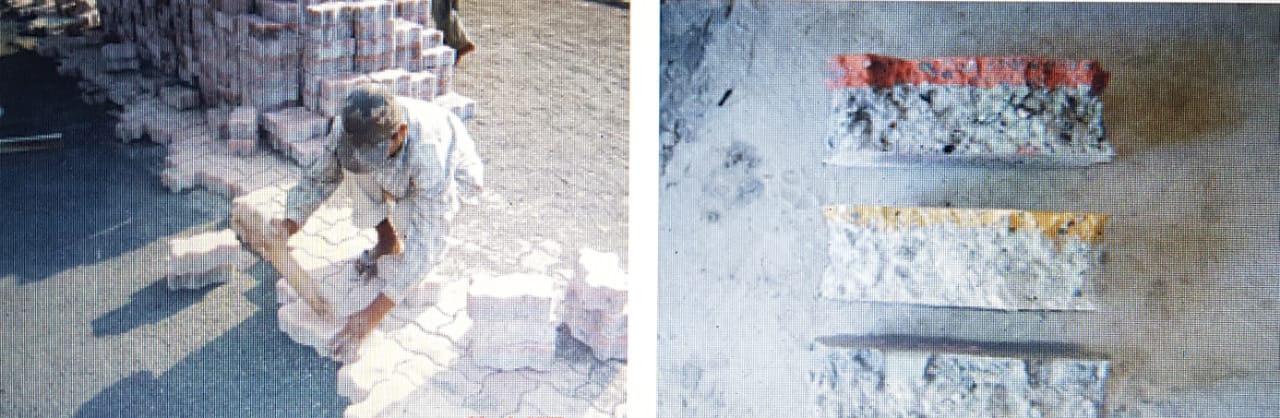
2) Every
lot of paver blocks shall be tested to confirm strength as per requirements.
Preparation of Subgrade
3.1) Cutting/filling of subgrade to required level, gradient and camber.
3.2) Carry out lime stabilization treatment for sub base as per
specifications given below.( Where ever specified ).
3.2.1) Excavate up to required level & Gradient.
3.2.2) Loosen the soil up to 200 / 300 mm below
the required level preferably with JCB / Tractor having
Pulversing tool attachment.
3.2.3) Spread the lime over the
loose soil @ 5kg / sq.mtr. and mix the lime and soil by using spade and sprinkle
water over it.
3.2.4) No traffic should be allowed
to move over it other than the mixing equipments till mixing is completed.
3.2.5) Immediately after spreading,
Grading & Leveling of the mixed material compaction shall be carried out
with approved equipment.
3.2.6) Rolling with Vibratory
roller 8 - 10 MT shall commence at edges & progress towards the centre.
3.2.7) Compaction shall continue until the density
achieved is at least 95% of the maximum Proctor
density for the material.
3.2.8) Compaction of Lime
stabilized material should be completed within 3 hrs.
3.2.9) The sub base course shall be cured for minimum 7 days.
3.2.10) Carry out watering and
rolling with 10-12 T roller / 8T vibratory Roller to achieve 95 % proctor Density.
3.2.11)Carry out Proctor density
test to check compaction. And if value is less than 95 %, than carry out
rolling till 95 % is achieved. Suppose, in case of Clayey soil, we do not get
95% Procter Density, then carry out 30 passes of Roller, to get the desired
results.
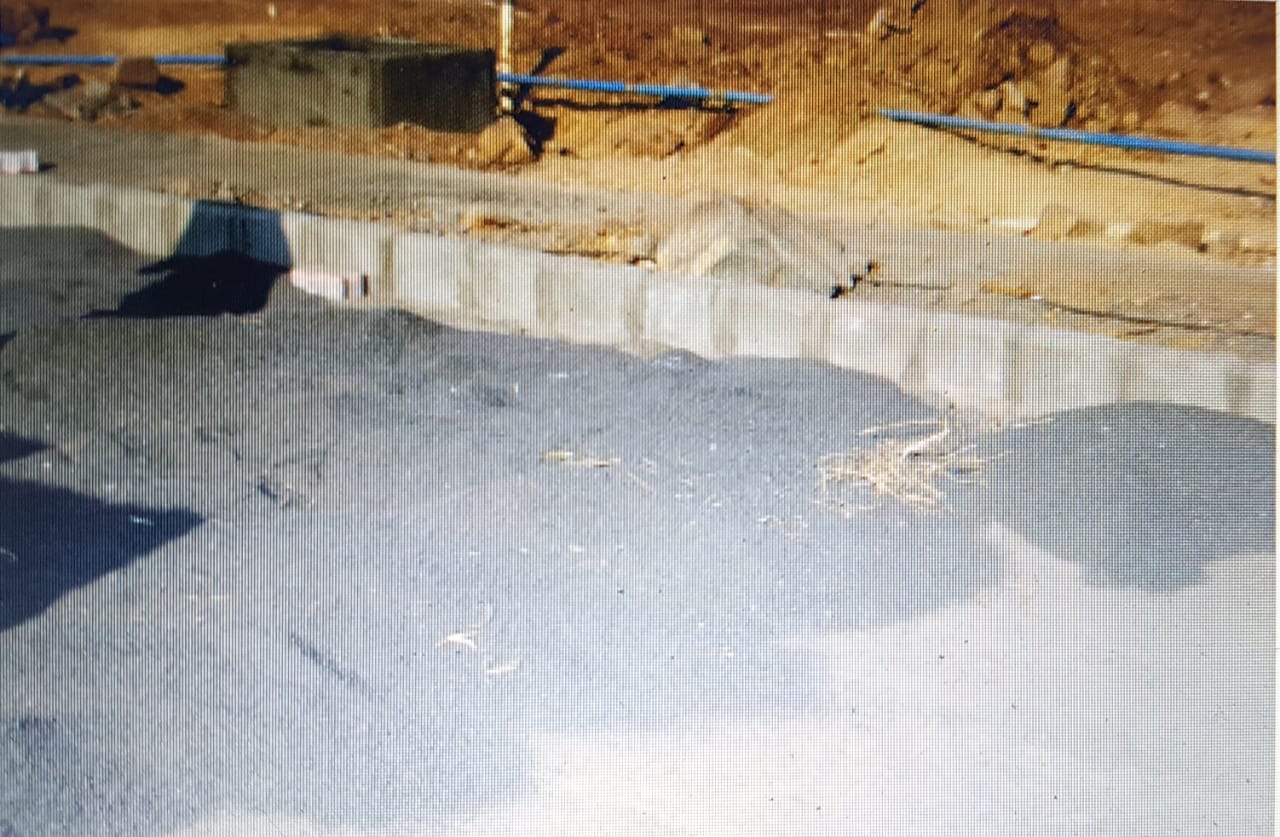
4- W.B.M. ( Water bound Macadam )
4.1) Total 4 layers of W.B.M. shall be done. ( Refer Sketch ). This depends on type/nature of strata.
4.2) First two layers of Hand
Broken Metal 90-60 mm size and balance two layers with Hand Broken Metal 60-40
mm size as shown in sketch.
4.3) Laying of 80mm thick Hand
Broken Metal ( compacted thickness ) W.B.M. in max 30 to 60 m length and in 3m
width ( Max ) at a time as shown in sketch given below.
4.4) Carry out Dry rolling
of first pass ( One pass means traveling from point
A towards point B and from point B
to point A ).
4.5) Spread stone dust for the
full length and width ensuring that voids between stones are filled up with
stone dust.
4.6) Again carry out dry rolling
with one pass
4.7) Sprinkling of water shall be
carried out with sprinkler arrangement on the back of water tanker to ensure
uniform spreading of water.
4.8) Carry out rolling of W.B.M.
to ensure full compaction. Min. 30 passes shall be carried out for proper compaction.
4.9) Keep shifting roller by 100mm as shown in sketch after each pass.
Rolling shall start from Edge towards camber
of the road. This is because
on the edge there is s Storm Water Drain (S.W.D.) to support W.B.M...
4.10) Try to remove stone with
finger pressure to see whether any stone is coming out or not. If stones are
coming out than compaction is not proper and more passes of roller required.
4.11) Follow the same procedure
for all the layers of the W.B.M..
4.12) Clean top surface of the
last layer of W.B.M. to remove excess powder.
4.13)Carry out final compacted
levels of the W.B.M. with dumpy
level to cross check levels of W.B.M. and carry out necessary corrections if required.
5- Paver
blocks fixing procedure.
First
of all make level pads using paver block and sand ( unscreened ) according to
required gradient, slope and camber as seen in picture. Thickness of sand
bedding shall be 40mm. If thickness is more than 40mm, carry out rectification
of WBM.
6- Make
sure that curb stone/stoppers are provided on sides to restrain paver blocks
from movement.
7- Spread
sand (unscreened) loosely and uniformly over the surface using Aluminum Patti.
Do not compact the sand. Sand to be used shall be dry. Grit powder can also be
used in place of river sand. As far as possible try to avoid fixing of paver
blocks in monsoon.
8- Start
fixing paver blocks as per approved colour, thickness and pattern and hammer
the blocks with wooden mallet. Make sure that no broken paver blocks are used.
9- Provide temporary end stopper and the end of the work so
that no paver blocks move and get loose. On commencement of work, remove these
temporary stopper and continue paver blocks
fixing.
10-Cut
blocks of the required size and shape
on the edges and see that gap between kerb stone and paver is min. and uniform.
11- Provide straight line joint between old
and new paver block.
12- Spread fine sand (fineness suitable to
penetrate 2mm gap between paver blocks).
13- Carry
out compaction of the paver blocks using
plate compactor, to see that fine sand enters
into the gaps between paver blocks. This ensures complete interlocking of
paver blocks.
14- Remove excess sand/grit powder.
15- Now Road can be opened for traffic.


Comments
Post a Comment